
 English
 русский
 Español
 عربى
عربى
Most gutter failures trace back to a single cause: a system assembled from mismatched or undersized accessories. The gutter profile itself gets all the attention, but it's the hangers, end caps, fasteners, and downspout connectors that determine whether a system holds up for two decades — or two wet seasons. This guide covers what a complete aluminum rain gutter system actually includes, why color-coated aluminum has become the material of choice for modern rooflines, and how each installation step affects long-term performance.
Content
- 1 Why Aluminum Rain Gutter Systems Outperform Other Materials
- 2 What Makes a Complete Aluminum Rain Gutter System
- 3 Key Advantages of Color-Coated Aluminum Gutters
- 4 Step-by-Step Installation Guide for Aluminum Rain Gutters
- 5 Common Installation Mistakes and How to Avoid Them
- 6 Choosing the Right Aluminum Gutter Accessories
Why Aluminum Rain Gutter Systems Outperform Other Materials
Aluminum has dominated the residential and commercial gutter market for a simple reason: it delivers the performance properties that matter most — corrosion resistance, workability, and longevity — at a price point that steel and copper can't match for most projects.
Unlike steel, aluminum doesn't rust when the protective coating is scratched or worn. Unlike vinyl, it won't crack under thermal stress or become brittle after years of UV exposure. Steel gutters are stronger, but the moment a surface coating fails in a humid or coastal environment, corrosion starts from the inside out. Vinyl systems are inexpensive upfront but typically need replacement within 10 to 15 years. A properly installed aluminum system, by contrast, routinely lasts 20 to 25 years with minimal intervention.
Aluminum is also uniquely well-suited for the color-coated gutter systems that have become standard on metal roofing projects. The alloy accepts factory-applied coatings that bond at the molecular level, producing a finish that resists fading, chalking, and surface staining across a wide range of climatic conditions. That's a property neither steel nor vinyl can replicate as reliably.
For projects combining composite metal roofing panels with a matched drainage system, aluminum gutters offer the closest color and finish consistency — an important detail when the roofline is a visible design element rather than a purely functional one.

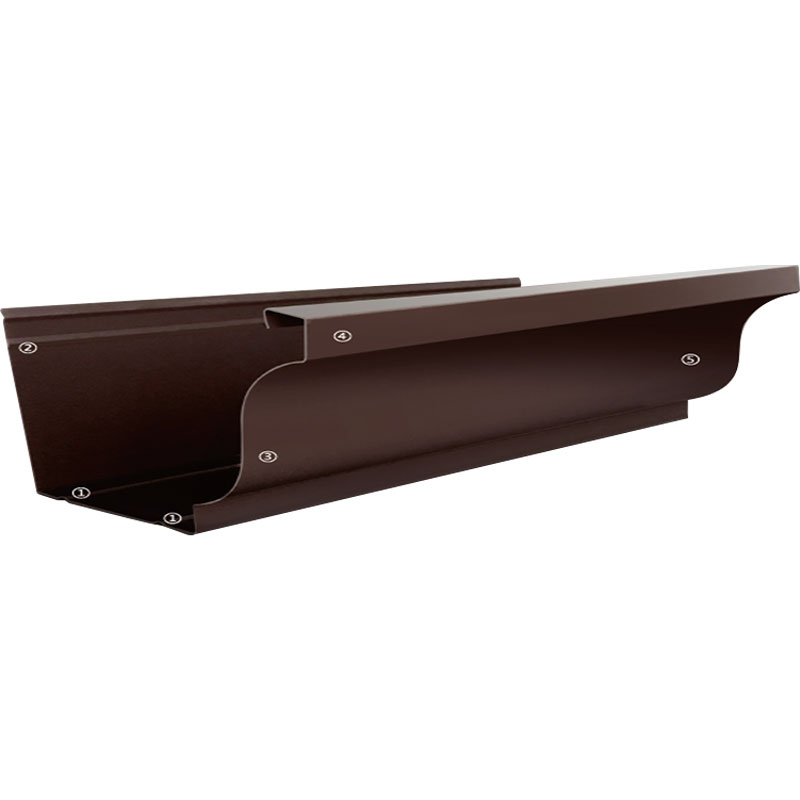
What Makes a Complete Aluminum Rain Gutter System
A gutter run is not a single product. It's an assembly of components, and the weakest link — typically an undersized hanger or an unsealed joint — is where the system fails. Understanding what a complete system includes helps buyers and installers specify the right accessories from the start.
The core components of a complete colored aluminum rain gutter system and accessories include:
- Gutter profile sections — typically K-style or half-round, in standard lengths, color-matched to the roof or fascia
- Gutter hangers — the primary structural connection between the gutter and the fascia or rafter tail; hanger type and spacing directly determine load capacity
- End caps — factory-sealed or field-applied closures at each run terminus; a common source of leaks when improperly sealed
- Inside and outside corners — mitered or formed connectors at roofline angles; require precise fitting and sealant to prevent pooling
- Downspout outlets — the transition point from horizontal gutter to vertical drainage; outlet size must be matched to the expected water volume
- Downspout sections and elbows — direct water from the outlet to grade level; elbow angles affect flow velocity and debris accumulation
- Expansion screws and wall anchors — fasteners for securing the back wall of the gutter to masonry or concrete fascia; expansion screw selection depends on substrate material and load
- Sealant — interior-grade gutter sealant applied at all joints, outlets, and end caps; the single most important material for long-term leak resistance
Cutting costs on accessories — using undersized hangers, skipping expansion anchors, or substituting generic sealant — is where most field failures originate. The gutter profile itself rarely fails first.
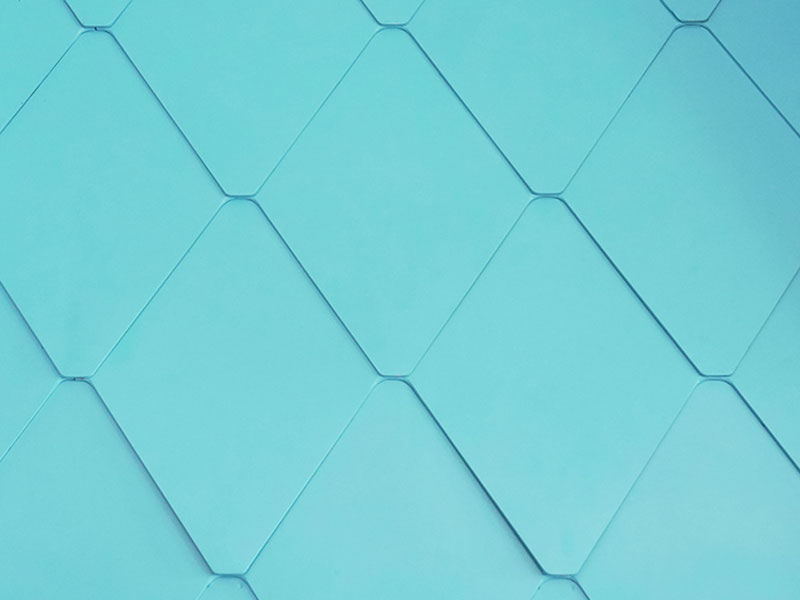
Key Advantages of Color-Coated Aluminum Gutters
Color-coated aluminum gutters do more than satisfy an aesthetic preference. The factory-applied coating is a functional layer that extends service life and reduces maintenance requirements in ways that field-painted or uncoated systems cannot match.
Factory coatings on color aluminum gutters are applied under controlled conditions using PVDF (polyvinylidene fluoride) or high-performance polyester resins. These coatings bond uniformly to the aluminum substrate, creating a surface that resists UV degradation, salt spray, industrial pollutants, and biological growth including mold and algae. In coastal or high-humidity environments — exactly the conditions where gutter systems face the most stress — this distinction is significant.
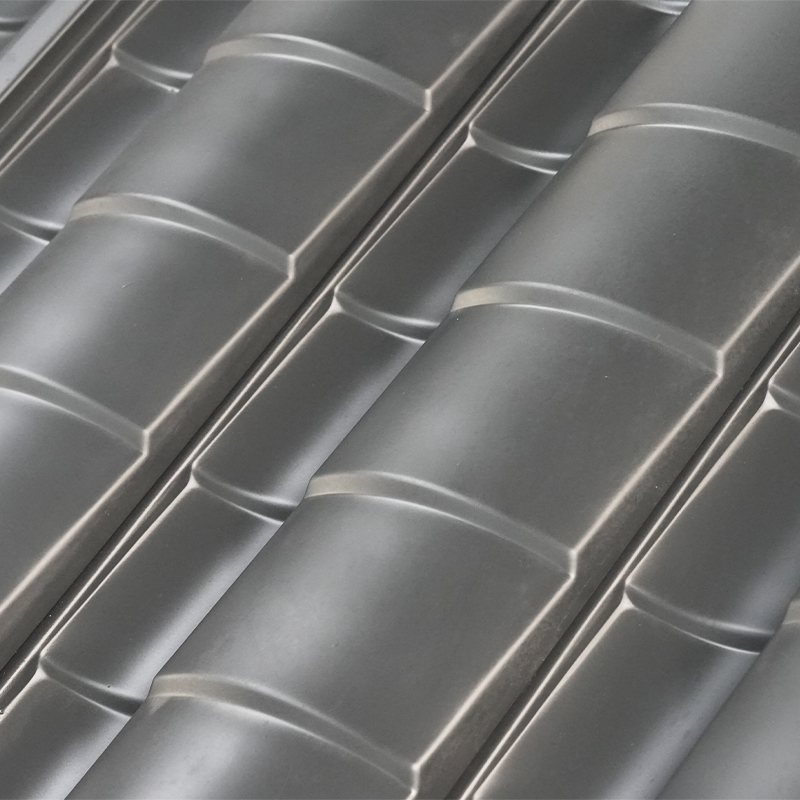
From a project coordination standpoint, color-coated gutters simplify material sourcing. When a roofing project specifies a particular finish for aluminum magnesium manganese metal roofing tiles, sourcing a gutter system with a matching factory color eliminates the need for field painting and ensures consistent appearance across the roofline for the lifespan of both products.
Color-coated systems also hold their appearance longer than uncoated aluminum, which oxidizes and develops a chalky surface film over time. A system that looks good at installation and still looks good at year fifteen contributes to property value in a way that a deteriorated, patchy surface cannot.
Step-by-Step Installation Guide for Aluminum Rain Gutters
Correct installation technique matters as much as product selection. The following sequence reflects professional practice for attaching an aluminum rain gutter system to a fascia or masonry eave.
- Assess the eave geometry. Before marking any lines, check the height and vertical alignment of the eave. An eave that isn't plumb or has variable height along the run requires shimming or custom bracket selection. Attempting to compensate at the hanger stage produces inconsistent results. If the geometry is significantly irregular, consult a technical specialist before proceeding — field-improvised fixes at this stage cause downstream problems.
- Establish the installation line. Mark a reference point approximately 30mm below the bottom edge of the roof tile or panel. This setback prevents backflow under the roofing material during heavy rainfall. Snap a chalk line across the full run at this elevation, confirming consistent slope toward the downspout outlet — a minimum drop of 3 to 5mm per linear meter is standard.
- Mark and position hangers. Hangers should be positioned at 450 to 500mm intervals along the run, with tighter spacing — 300mm — at the ends of each run and at internal and external corners where load concentrations are highest. Mark each hanger location on the chalk line before drilling.
- Drill fascia anchor points through the hangers. With hangers positioned at the marked locations, use each hanger as a drilling template to locate the anchor holes in the fascia or back wall. This ensures the holes align precisely with the hanger mounting points, eliminating the misalignment that leads to loose connections.
- Dry-fit the gutter section. Place the gutter against the eave with the upper edge of the back wall flush with the installation chalk line. Using a marker, transfer the hanger hole positions from the back wall of the gutter onto the fascia surface. This is the final check before committing to permanent holes in the substrate.
- Drill the gutter and install expansion anchors. Remove the gutter. Drill the marked positions in the gutter back wall, then install expansion screw sleeves at the corresponding fascia anchor points. Expansion anchors distribute load across the substrate and prevent the fasteners from pulling through over time, particularly in masonry or concrete substrates.
- Secure the gutter permanently. Position the gutter back against the eave, align the holes, and drive expansion screws through the hangers to lock the assembly in place. Check alignment against the chalk line before full tightening. Seal all joints, end caps, and outlet connections with gutter-grade sealant.
- Install downspouts and test. Connect downspout outlets, elbows, and vertical runs. Run water through the completed system to verify slope, check for leaks at all joints, and confirm that drainage exits the system at grade level away from the building foundation.
Common Installation Mistakes and How to Avoid Them
Most gutter callbacks and premature failures share a short list of causes. Recognizing them before installation is significantly less expensive than correcting them afterward.
Insufficient slope. A gutter run that's level or slightly reversed in pitch will pool water, accelerate corrosion at the low point, and create a breeding environment for mosquitoes and organic growth. Confirm slope with a level and tape measure before securing any hanger permanently. Fixing slope errors after the system is fastened typically means removing the entire run.
Hanger spacing too wide. Hangers spaced at 600mm or beyond on standard residential installations provide inadequate support under load — particularly when gutters fill with water, debris, or ice. The 450 to 500mm standard exists because it keeps deflection between hangers within acceptable limits across the full range of expected loads. Cutting hanger count to save material cost is false economy.
Unsealed or poorly sealed joints. Sealant must be applied to the inside surface of all joints before assembly, not after. Applying sealant to the exterior of an already-assembled joint is a cosmetic fix, not a structural one. Use sealant rated for continuous water immersion and temperature cycling.
Downspout outlets undersized for the roof area. A single standard outlet handles a limited catchment area. On wide roof sections or high-rainfall installations, undersized outlets back up during peak flow events, causing overflow at the gutter midpoint. Specify outlet size and quantity based on roof area and local peak rainfall intensity, not on what's convenient to install.
Skipping the dry-fit verification step. Drilling directly from measurements without a dry-fit check introduces cumulative error across a long run. The dry-fit and marker transfer step described above costs five minutes and prevents misaligned holes that compromise both the structural connection and the weather seal.
Choosing the Right Aluminum Gutter Accessories
Accessory selection should be driven by the installation environment and expected loads, not solely by unit cost.
For gutter profile thickness, 0.6mm to 0.8mm aluminum is adequate for most residential applications in moderate climates. Projects in heavy-snowfall regions, coastal environments, or locations with significant debris load from overhanging vegetation benefit from thicker profiles — 0.8mm to 1.0mm — that resist permanent deformation under sustained load.
Hanger selection depends on fascia substrate. Standard screw-in hidden hangers work well in timber fascia with adequate timber depth. For masonry, concrete, or thin composite fascia boards, specify hangers designed for expansion anchor attachment — the same mechanical principle used in the installation sequence above. Hangers relying solely on wood screw purchase into thin or deteriorated fascia material will loosen within a few freeze-thaw cycles.
For color-coated systems, specify accessories with matching factory finishes wherever visible — end caps, outlet covers, and downspout brackets. Mismatched silver or mill-finish accessories installed against a colored gutter profile are the most common aesthetic failure in otherwise well-executed installations.
Finally, sealant specification matters. Generic silicone is not appropriate for continuous water contact applications in gutter assemblies. Use polyurethane or purpose-formulated gutter sealant rated for the temperature range of the installation location, with documented adhesion to aluminum substrates. The complete colored aluminum rain gutter system and accessories available from qualified suppliers should include compatible sealant specifications as part of the product documentation.


